Embroidery pricing confuses buyers because it is not quoted the way the rest of the garment is. The garment has a unit price; the embroidery has a setup charge, a stitch count and a per-piece rate, and the three behave differently as volume changes.
This page explains how custom sportswear embroidery is priced for the Australian market — the components, the cost drivers and the practical ways to reduce cost without reducing the quality of the mark.
Quick answer: Embroidery cost has four components: digitising (a one-off charge to convert artwork into a stitch file), setup (loading and testing the file on the machine), the stitch count of the design, and the per-garment sewing rate. Colour count adds thread changes rather than large cost. The three levers that reduce cost are a smaller or less dense mark, consolidation of sizes and colourways into one run, and reuse of an existing digitised file for repeat orders.
| Component | Charged as | How it behaves with volume |
|---|---|---|
| Digitising | One-off per design | Fixed — falls to almost nothing per unit at scale |
| Machine setup | One-off per run | Fixed — one setup covers all garments in the run |
| Stitch count | Per design, driving the per-unit rate | Unchanged by volume |
| Sewing rate | Per garment, per position | Falls slightly with quantity as the run amortises |
The structure explains the most common surprise in embroidery buying: a small order can carry a digitising charge that exceeds the decoration cost of the garments themselves. That is not a markup; it is a fixed cost spread over few pieces. Consolidating several pieces into one order and using one design across the range is the most effective way to reduce it.
Stitch count is the single largest variable in the per-unit price, and it is set by the design rather than by the garment.
Size of the mark — a larger area contains more stitches at the same density.
Fill versus outline — a filled shape uses several times the stitches of an outlined one.
Density — a denser fill looks richer but consumes more thread and time.
Colour changes — each new colour adds a thread change and a small time cost.
Underlay and finishing — necessary for quality but countable in the stitch file.
The practical consequence is that a design can often be made cheaper without looking cheaper. Reducing a filled area to a clean outline, or dropping one colour, can cut the stitch count substantially while producing a mark that reads better on a knit. Our guidance on how the mark should look is in embroidery in sportswear manufacturing.
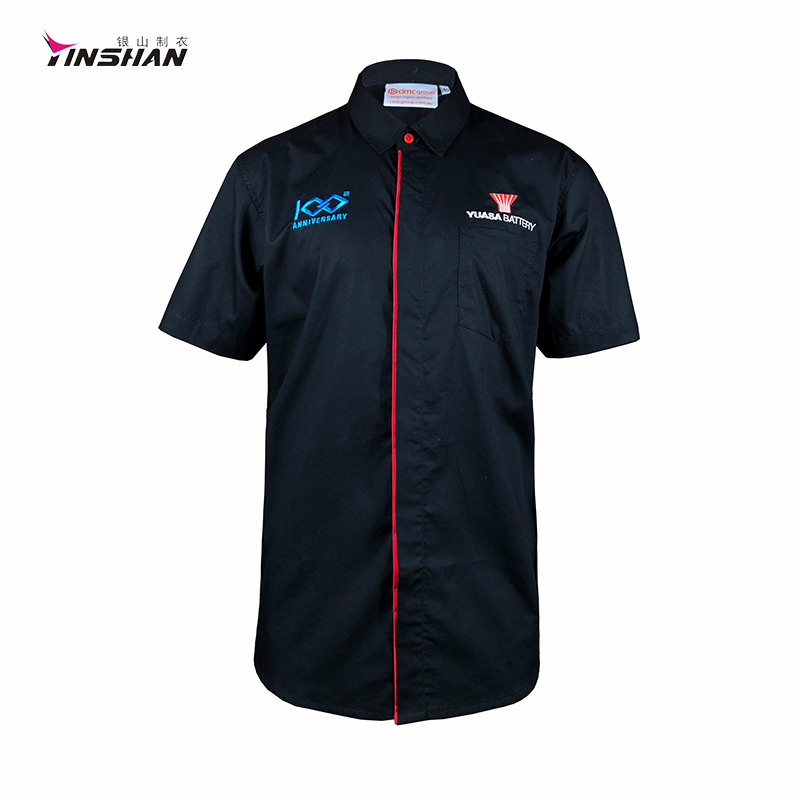
Embroidery is priced by stitch count, so a large filled mark costs more than the same shape drawn as an outline.
Australian buyers often see embroidery quoted in two ways: on the garment from a factory, and locally on garments supplied from elsewhere. The two are not directly comparable.
Local embroidery — fast turnaround, small quantities practical, but a higher per-stitch rate.
Factory embroidery at source — lower per-stitch rate and no separate freight, but longer lead time and a minimum quantity.
Hybrid — blank garments imported and a small local mark applied for short runs or last-minute additions.
Freight — a factory-embroidered order avoids a second shipment of blank goods to a local decorator.
The comparison that matters is landed cost per garment including freight and any local handling, not the quoted per-stitch rate. A lower stitch rate with a second shipment attached is frequently more expensive than a slightly higher rate applied before the goods leave. The shipping side of that calculation is in shipping and delivery for sportswear orders.
Use one design across the whole order rather than a variant per team, department or size.
Reduce fill areas to outlines where the artwork allows, which lowers stitch count significantly.
Keep the mark to one position for most of the order and add a second only for a subset.
Reuse the digitised file on repeat orders, which removes the one-off charge entirely.
Consolidate orders — one larger run always beats several small ones on fixed costs.
Choose a mark size that suits the garment, since oversized marks cost more and often read worse.
Those six measures typically produce more saving than any negotiation on the per-stitch rate, because they change the inputs the rate is applied to rather than the rate itself.
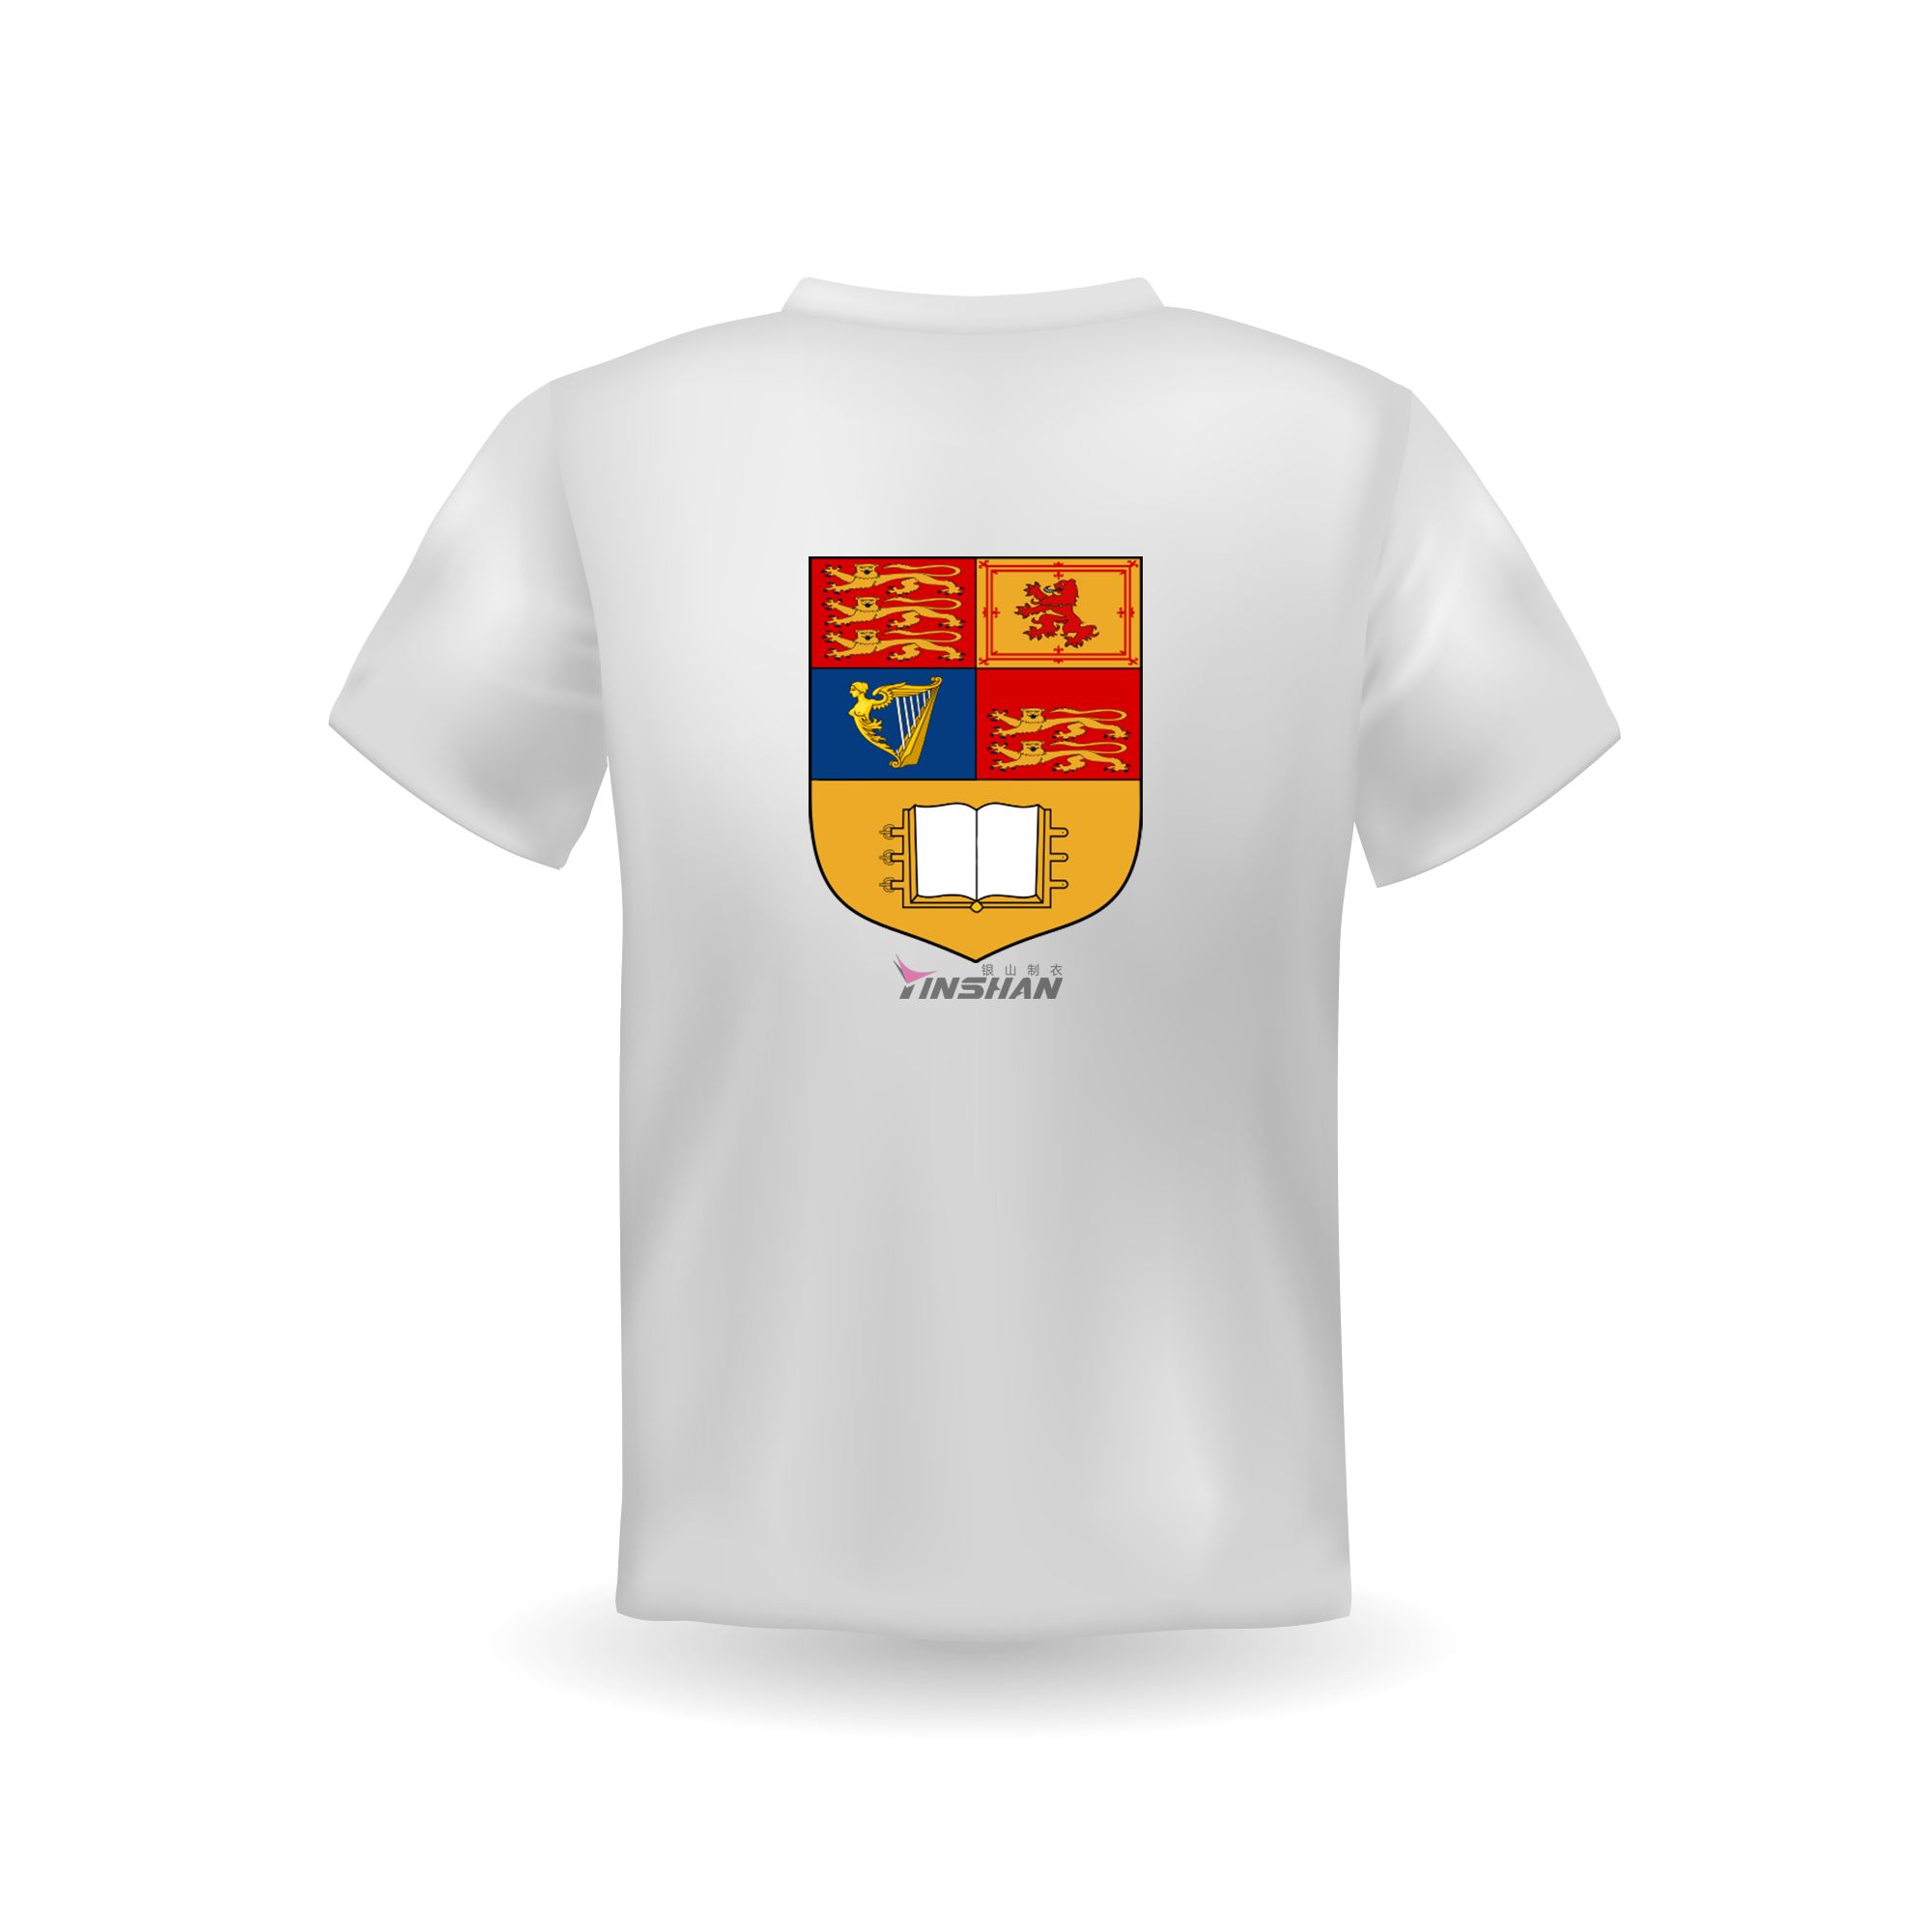
A smaller mark is not a compromise: it usually reads better on the garment and costs less to produce.
Embroidery quotations are only comparable when they separate the same four components. When comparing two suppliers, ask for the digitising charge, the setup charge, the stitch count and the per-piece rate, and confirm whether the digitising charge is retained for future orders.
Ask whether the digitised file becomes reusable, and whether it is charged again on a repeat order.
Ask whether the setup charge is per run or per design.
Ask how the per-piece rate changes between the sample and the bulk quantity.
Ask what mark size the quoted stitch count assumes, since this is where quotations differ.
A supplier that cannot break the price down into these components is quoting a single figure that cannot be compared with anyone else's. The wider comparison discipline is set out in embroidery pricing for Australian buyers.

Setup and digitising are one-off costs, which is why the per-unit price falls as the order quantity rises.
Embroidery is a fixed cost plus a per-stitch cost plus a per-garment cost. Small orders are dominated by the fixed part, large orders by the variable part, and the cheapest improvement available is always to consolidate designs and quantities rather than to shrink quality. A buyer who understands that structure negotiates on the right thing.
Four components: a one-off digitising charge to convert the artwork into a stitch file, a machine setup charge per run, a rate driven by the design's stitch count, and a per-garment sewing rate. Colour count adds thread changes rather than a large cost.
Because digitising and setup are fixed costs. On a small quantity they are divided across few garments, so the per-unit cost is dominated by the one-off elements. Consolidating several pieces into one order reduces it sharply.
Not necessarily. For a small, simple mark embroidery can be competitive and it is far more durable. For large areas or several colours, printing is substantially cheaper. The right comparison is per garment over the expected life of the garment.
Use one design across the whole order, reduce filled areas to outlines where the artwork allows, keep to one position, reuse the digitised file on repeat orders, and consolidate small orders into larger runs.
Send the artwork and the quantity and we will quote it broken down — digitising, setup, stitch count and per-piece rate — so you can compare it honestly against any other route.
 English
 Español
 Português
 Français
 Pусский
 Deutsch
 العربية